Linux is just never quite ready for the mainstream because of little things like not being able to set the name of your computer. Here’s how to do it graphically in Ubuntu Jaunty.
You need to install the “Network” application
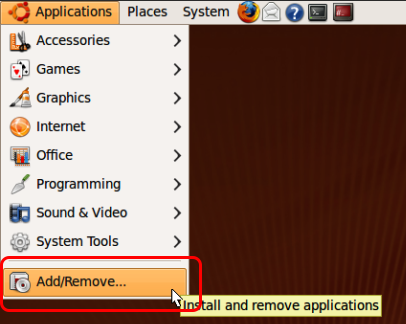
It used to be installed in previous versions, but it’s missing from Jaunty.
Find & Install Network
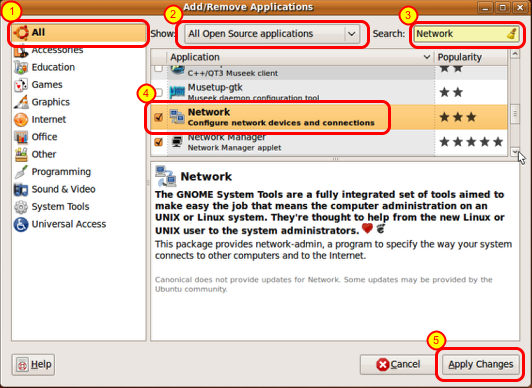
1. Select “All”
2. Select “All Open Source applications”
3. Search for “Network”
4. Select “Network” from the list. (You’ll have to scroll the list half-way down)
5. Apply Changes
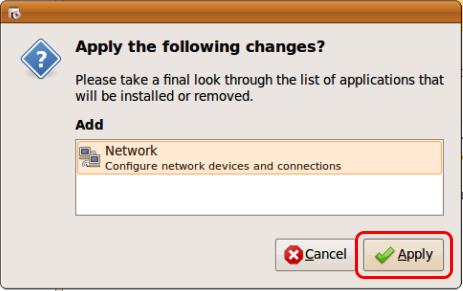
Apply
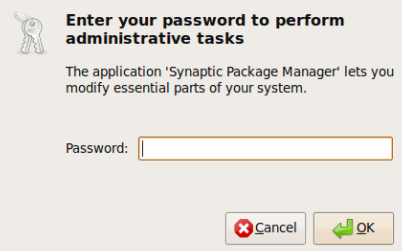
You may need to enter your password
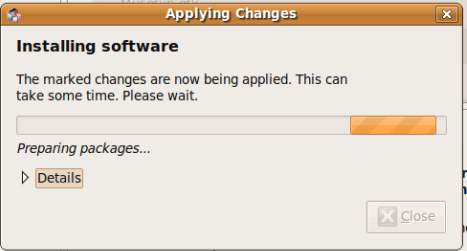
Wait while the software is installed
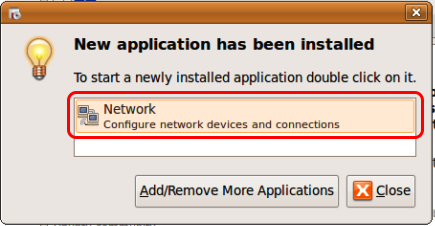
Double-click Network
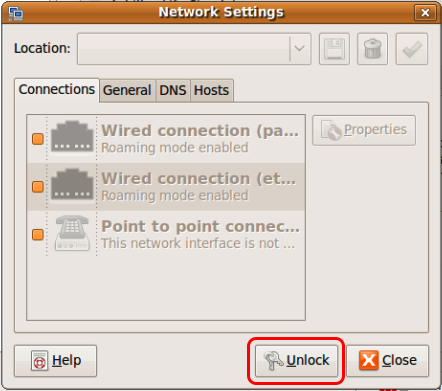
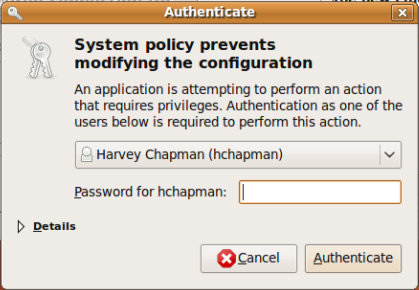
Unlock the Network Settings
Authenticate: Enter your password (again)
Select General and Change your Hostname
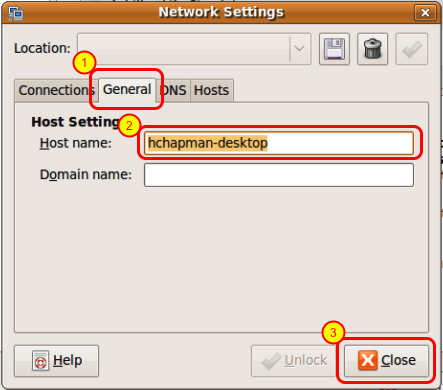
1. Select the General tab
2. Change your hostname
3. Click anywhere else
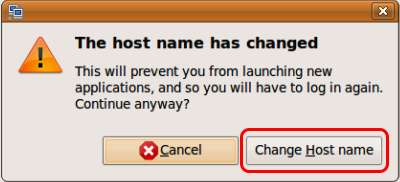
Confirm the Change
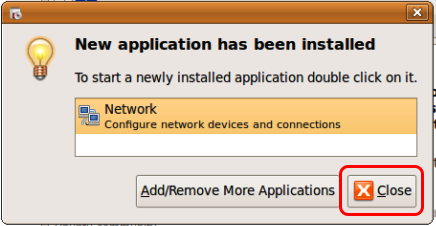
Close the Add/Remove program
Restart your computer
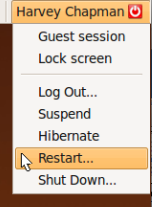
A lot of programs will not work properly unless you restart.
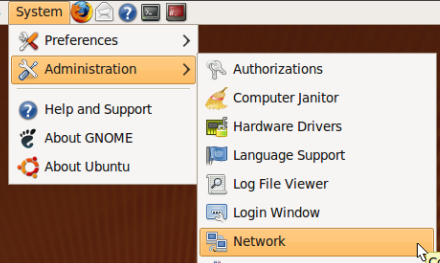
For future use, find Network under the System -> Administration menu