 My son’s Boogie Board from Brookstone recently stopped working and I suspected that he had given it the stated 6 years of use in 2 years time. Unfortunately, Improv Electronics, the manufacturer, chose to save a few cents and used a soldered battery. I needed to solder something for my work, so I thought fixing his board might provide a dry run of my soldering skills before I ruin a customer’s hardware.

After a quick trip to the local electronics chain, I had my instruments.

You’ll need a T6 Torx screwdriver to open the Boogie Board. Be careful to open the case like you see in the picture. There are some hinged pieces of plastic along the top. If you zoom in, you’ll see I’ve already broken two.
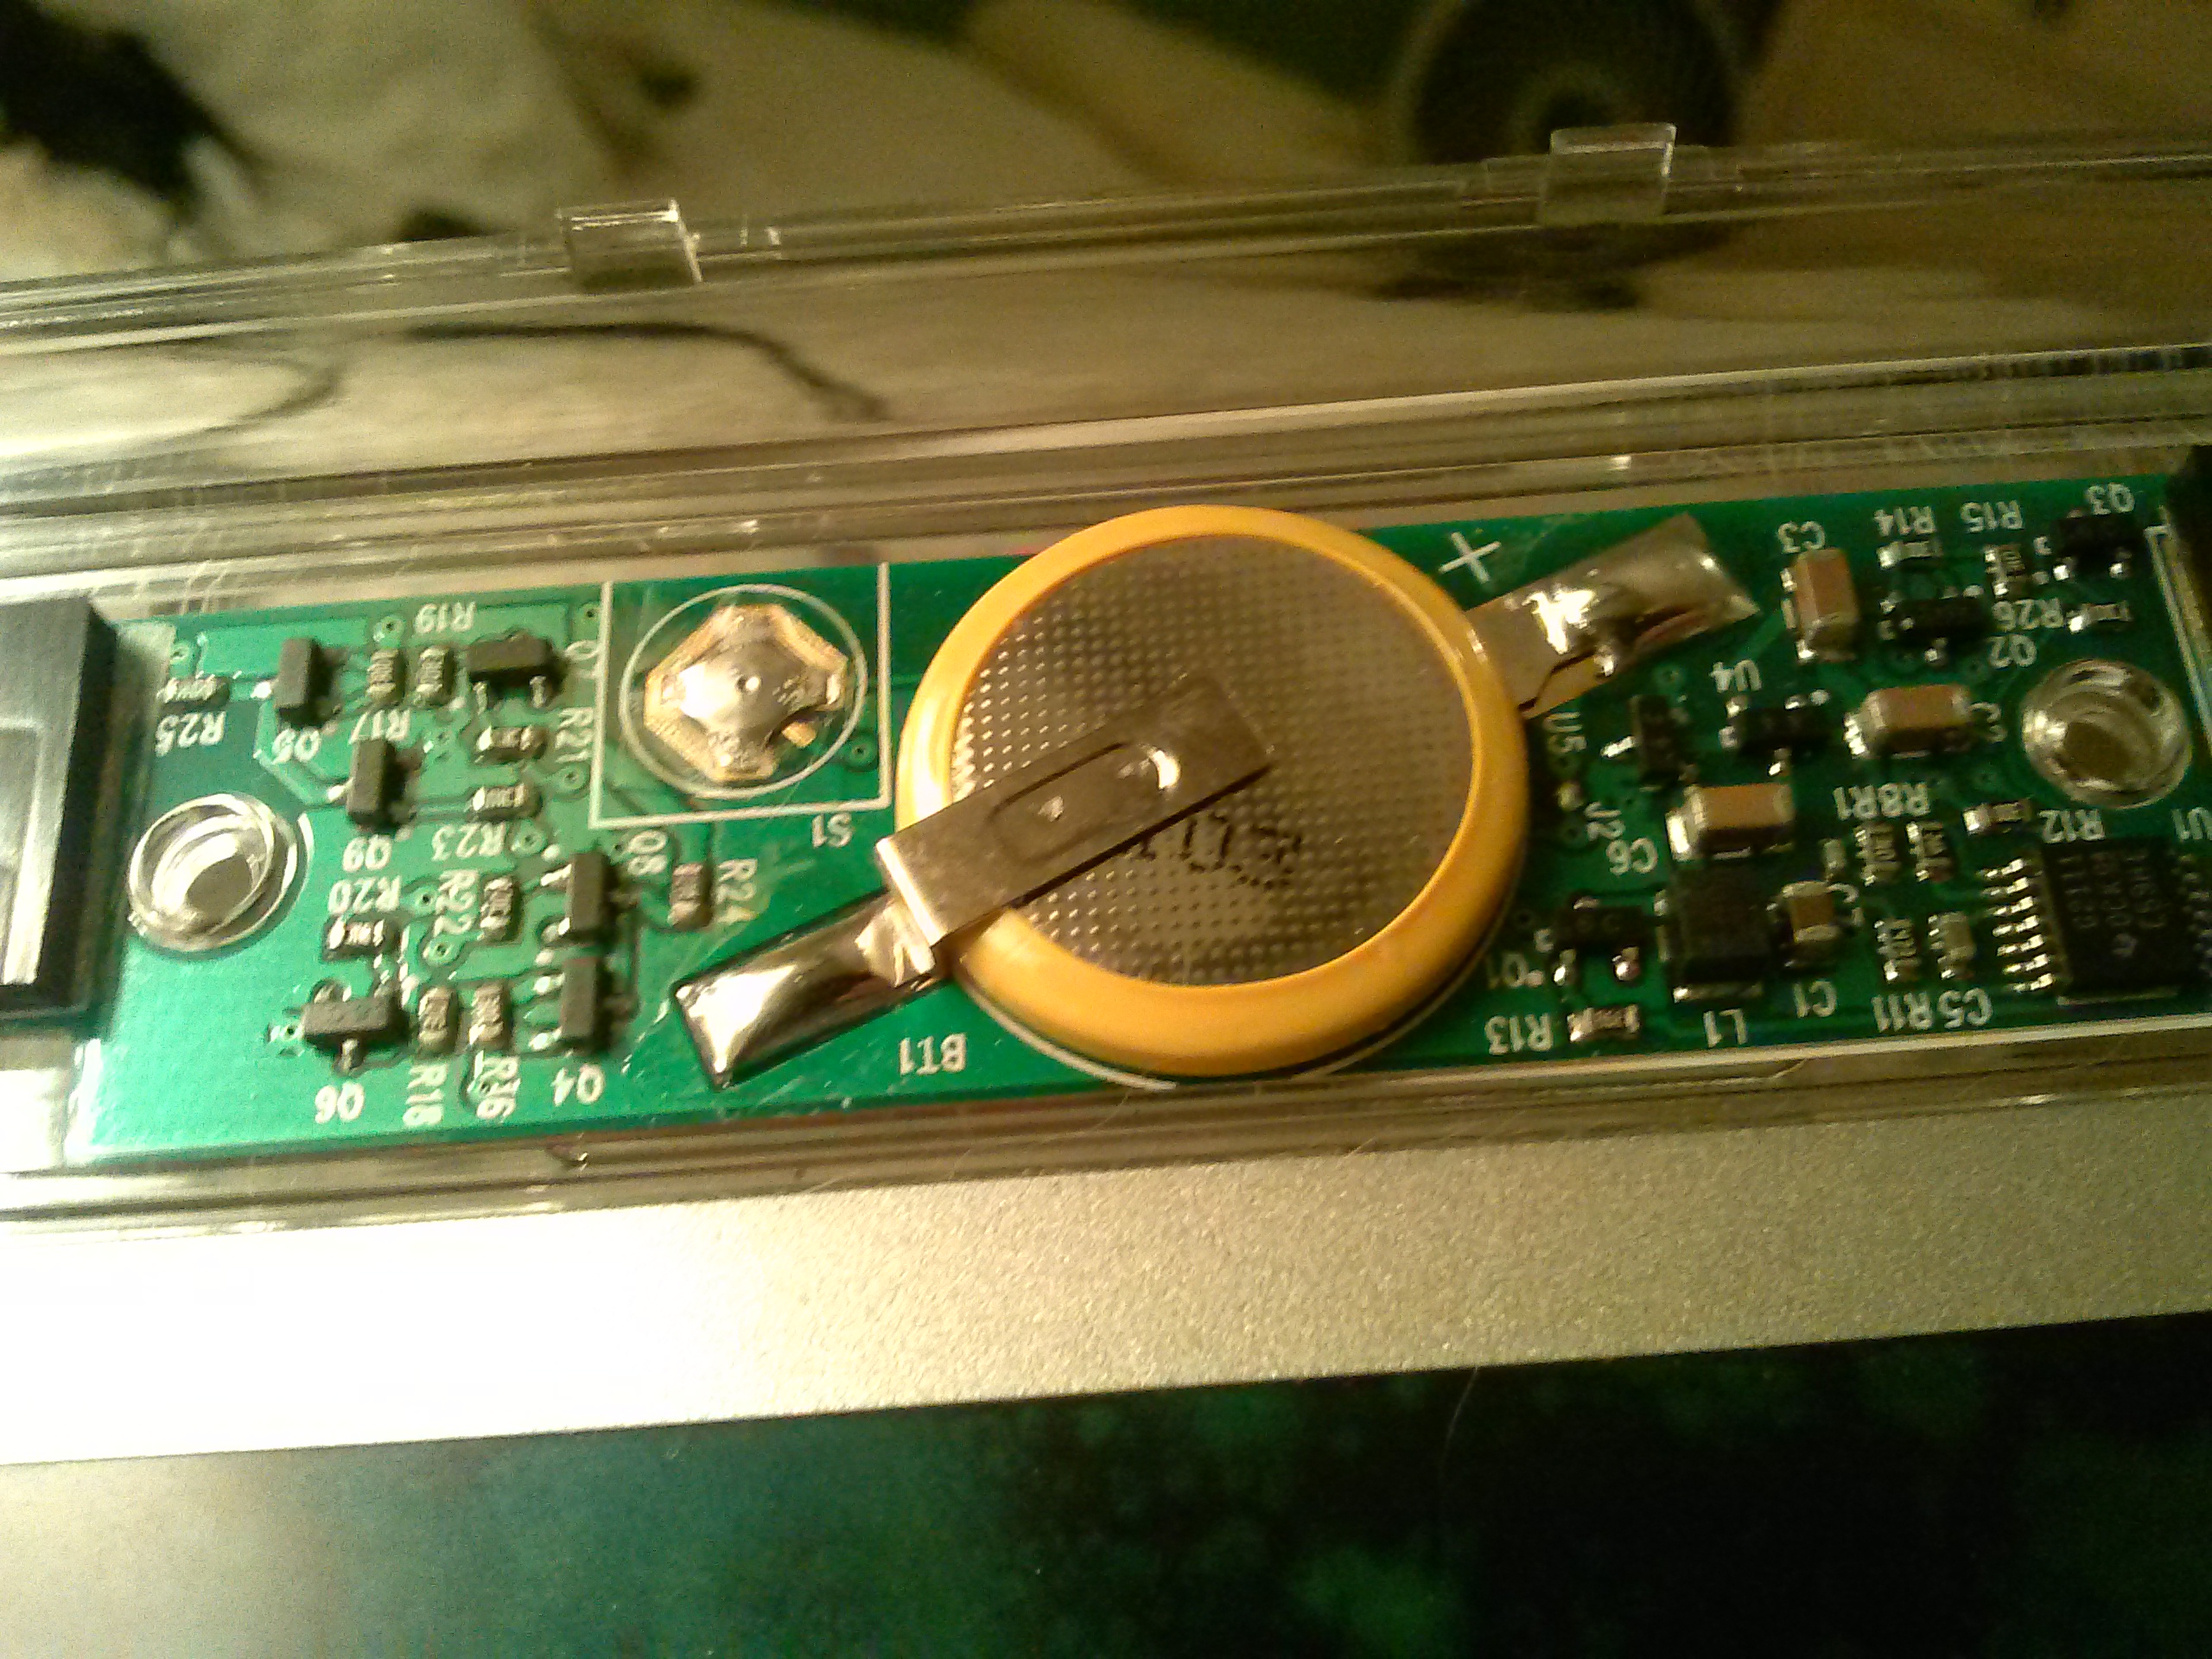
The original installed battery is a permanently installed CR2025. I bought a CR2032, but the only difference is the capacity and thickness.

I bought this CR2025/2032 battery holder thinking I would make the battery easily replaceable, but the holder is too large to fit in the case. Maybe in two more years, when the battery runs out again, I’ll find a lower-profile holder.


Here’s the finished result. It’s not pretty, but it works and my son is happy. I tried to lift the soldered battery and ended up almost completely ripping up the pad. In the end, I dropped a fair amount of solder on the pad and pushed the battery next to it until it stuck. I couldn’t get wire to stick to the battery, so I just taped it down. In fact, unless you’re good at soldering, you may just want to stick with tape. If you make it thick enough, the case will keep the connections tight. Last, I added a couple of layers of tape to the erase button so the case button won’t depress too far. Sometimes it gets stuck down.
Hopefully, this helps someone else. It definitely made my four year old happy. Happy Hacking.